
1. Find a scene in the text to illustrate. I decided to add one illustration to every chapter in Dan Quixote, so I went through the book and copied and pasted scenes I thought would make good illustrations into a single file. Sometimes I picked more than one scene in a chapter, so I could change my mind later.
2. Draw character sketches. This helps make it easier to be consistent when you're drawing more than one illustration with the same character. It's even better if you can draw the same character in different poses. Find places in the text where the character is described, so the drawing fits the words. With Dan Quixote, I drew the cover first. This showed me what all the main characters looked like.


4. Make an enlarged copy of your chosen thumbnail sketch, either by hand or with a copier. I used my multifunction printer.

5. Start to sketch in the details. You'll note it says "night sky" where the sky is meant to go. I often mark large spaces that will be colored in black with an X. Draw in guidelines (for example, where the edge of the picnic table is hidden by the characters' legs), skeletal lines and so on.
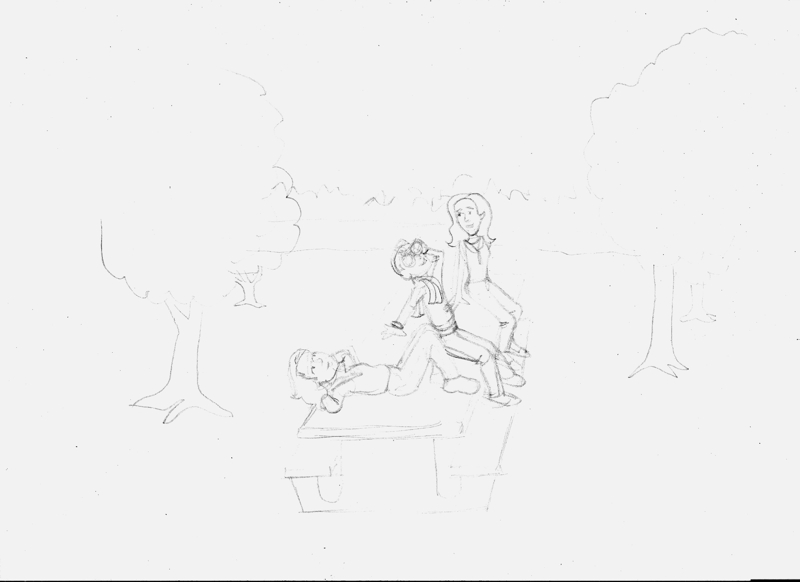
6. Ask yourself if you're happy with it. If not, why not, and what can you do to fix it? I soon realized the important elements in this drawing were still too small, so I enlarged this drawing too.

7. Add the finishing touches, Play around with texture. This is all in pencil, so nothing is final until it's inked. Even then there are ways to fix mistakes, but it's easier at this stage. When you're satisfied, ink the lines you want to use while ignoring the ones you don't. Erase the pencil outline. Now scan your drawing, and unless you see something that still needs changing, you're done! Here's the finished drawing.

8. Make last minute corrections. Computers can make this a lot easier provided you have the right software and hardware. I use Corel PhotoPaint (which is a part of CorelDraw), and I like it, but I haven't got used to using a tablet, and working with a mouse is even worse. That's why I'd rather do my sketches by hand and scan them in. Maybe one day I'll be able to afford a Cintiq tablet or a touch-screen computer, so I can see what I'm doing while I'm doing it.
And that's it. The most important thing to remember is to have fun.
No comments:
Post a Comment